

Moving is stressful for the average homeowner, but it’s even more grueling for a musician.
Whether you’re a casual hobbyist or play for a living, moving musical instruments will always be challenging. You can’t just wrap them up, stuff them in a box, drop in some foam peanuts, and be on your way. See, like music, packing instruments is an art. You’ll need careful planning to ensure the item continues to produce the same beautiful melody after transit.
But it seems you already know that since you’ve come across this guide. So without further ado, below are seven tips on how to pack and transfer musical instruments.
1. Make Ample Preparations
If you’re already cautious when packing kitchenware, you’ll have to be twice as careful on this one. This isn’t your typical pack-and-go operation. Knowledge is important, so do your research about your instrument. Learn the basics of its structure and how to disassemble the item if needed.
In addition to that, you’ll also have to prepare:
- Bubble wrap (Lots of it!)
- Packing tape & paper
- Ziploc bags
- Moving blankets
- Foam peanuts/popcorn
You can quickly get your hands on these supplies from your local stores. However, if you own a piano, you might have to buy auxiliaries like dollies and skid boards.
2. Hire Movers That Specialize in Moving Musical Instruments
When it comes to delicate tasks such as this, it’s better to leave the job to professionals — but not just any professional. You’ll have to enlist the help of movers with plenty of experience in moving musical instruments. These guys do not only appreciate the beauty of music; they also provide insurance for your stuff to protect your peace of mind. Make sure to ask your potential movers if they offer instrument moving services.
3. Packing Brass and Woodwind Instruments
If you’re firm on your decision to save, you could always do it yourself. First off are brass and woodwind instruments that include:
- Flutes
- Clarinets
- Saxophones
- Horns
- Trumpets
To pack these items, you’ll have to take them apart, or else you’ll risk having the internal structure rattle during transit, and tiny components might come off. Once you’re done dismantling, cover the larger segments with bubble wrap, and then insert them to their assigned positions within the hard case.
If you don’t have a hard case, pack the instrument inside a large box and fill the space with foam peanuts. Keep smaller parts inside Ziploc bags. Don’t forget to cover the mouth with packing paper to prevent foam pieces from getting inside.

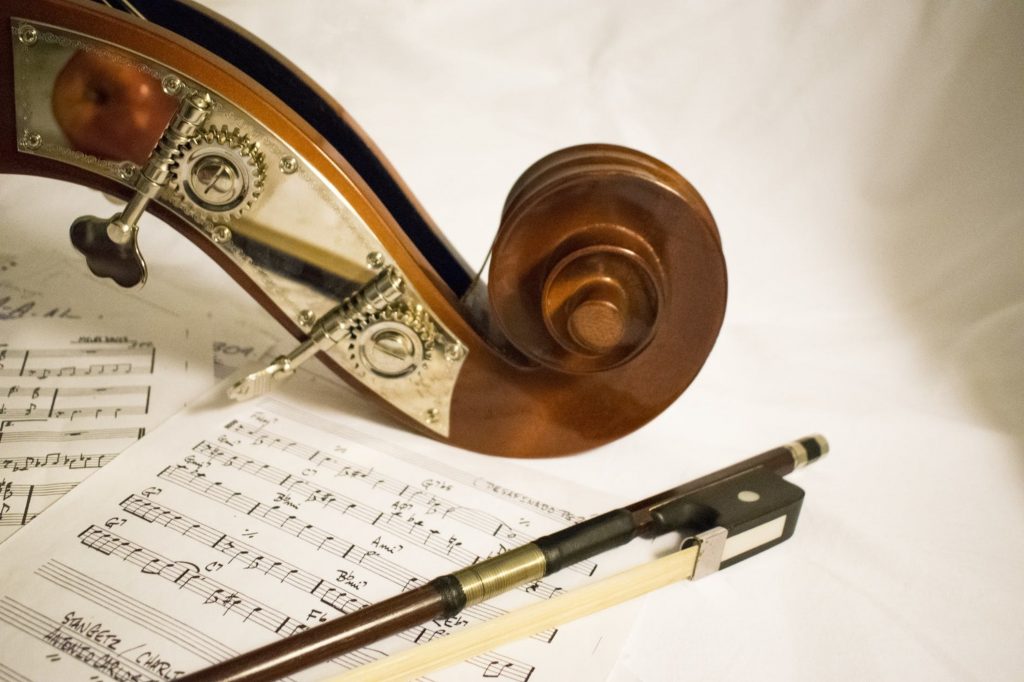
4. Packing Stringed Instruments
When packing guitars, violins, bass, and cellos, make sure to loosen up the strings first to prevent snapping. Next, turn the tuning keys into a position parallel with the headstock. Finally, cover the instrument with bubble wrap and place it inside the case. And if you don’t have one, place it inside a plastic bag then put it in a large cardboard box.
5. Packing a Drum Set
Don’t be intimidated by the size of this instrument. Prepping a drum set for transit is surprisingly easy compared to others. All you have to do is remove the rims and head, then stack the drums on top of each other like Matryoshka nesting dolls. Finally, position them neatly inside a box that’s 3-4 inches larger than the biggest drum in the set.

6. Packing a Piano
Before you go ahead with this, you should seriously consider hiring professional piano movers. This instrument is heavy, bulky, fragile, and super expensive. One wrong move, and things could be over. It’s like every red flag is waving at you when moving a piano.
But if you really want to walk the DIY path, here’s how to do it:
- Prepare the materials and equipment. Get moving blankets and plenty of tape. You should also have a dolly or skid board ready.
- Call lots of friends to help. Upright pianos can weigh anywhere from 400 to 800 lbs. An average person can lift a little more than ½ of his body weight, which is about 75 lbs. A quick look at these numbers will tell you can’t do it with two people.
- Start by wrapping the piano with moving blankets. Close the lid and remove the legs if it’s a grand. Fasten the fabric to the piano with heavy-duty tape.
- Compare the piano dimensions with the structure of your home. Make sure to account for doorways, corridors, and staircases.
- Hoist the piano on the dolly or skid board. Coordinate with your team to evenly distribute lifting force.
- Load the piano to the moving truck. Remember to take your time. An extra hour to finish the job is better than owning a broken piano.

7. Post-Move Maintenance Tips
Congrats on making it this far! If you’ve managed to move your musical instruments successfully, don’t use them right away. Give them at least 24 hours to acclimate. If you need to store them in a facility, make sure to select a climate-controlled environment.